In the previous posts Exposing your data using .NET WCF Data Services: Part 1 and Exposing your data using .NET WCF Data Services- Part 2 I wrote about creating a WCF Data Services application to expose data from a SQL Database and publishing the database to SQL Azure. In this post we’ll go through migrating the WCF Data Service code created in Part 1 into a Windows Azure service so that we can ready the code for publishing to the cloud.
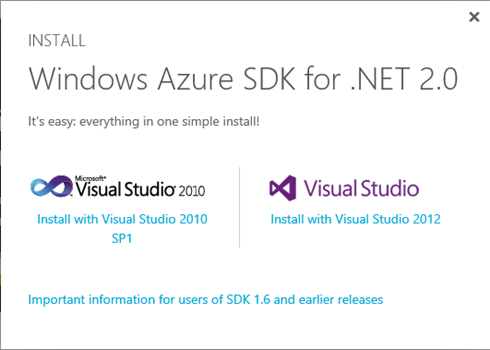
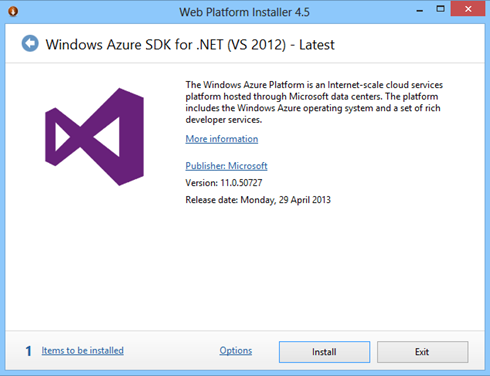
Downloading the latest Windows Azure SDK
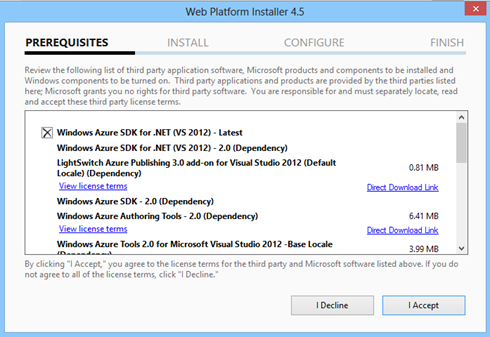
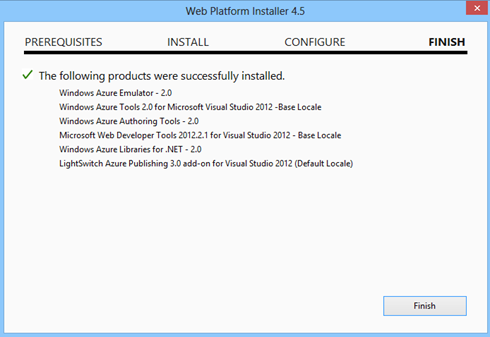
The first step in migrating our code is to grab and install the latest Windows Azure SDK as shown below. At the time of writing this post the latest version is version 2.0.
Creating the Windows Azure service and role
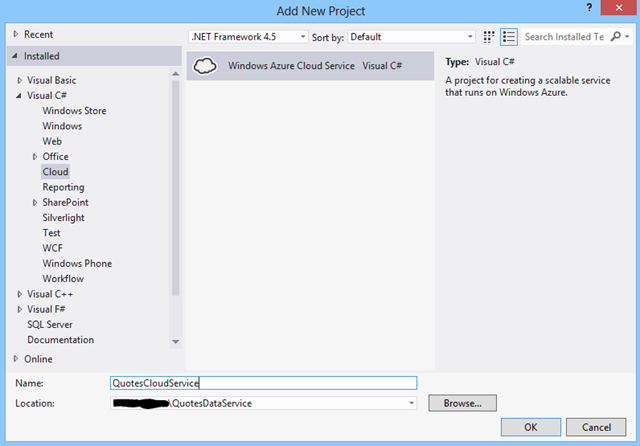
Once the SDK has been installed, we can start using Visual Studio to work with Azure. To get started, we need to first load the solution created in Part 1 of this post series. After the solution has been loaded, we can begin creating our Windows Azure components which will run the WCF Data Service that was created in Part 1. The first step is to create a Windows Azure Cloud Service as shown below.
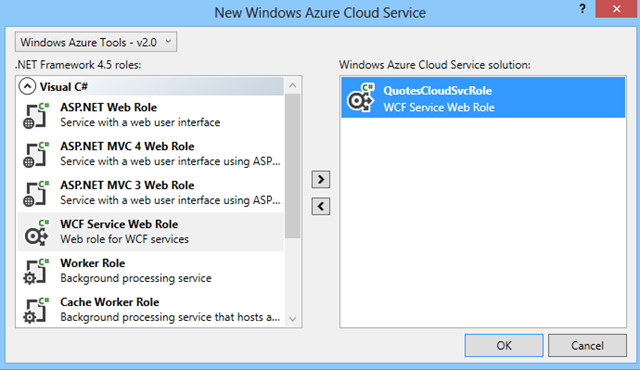
After the step above is completed we will need to create a role that will contain our application. As can be seen below, there are multiple options for doing this. For the purpose of this post series, I’ve gone with the WCF Service role as this is populated with the least amount of files by default. Another option was to host the service in a web role. You will see below that for creating this role the Windows Azure Tools version 2.0 is selected. I also have an older version installed on my PC but 2.0 is chosen by default.
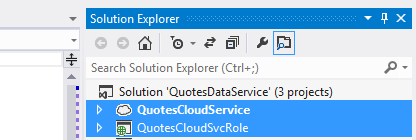
Completing the above steps results in two new projects being added to our solution as shown below.
Adding code to the Cloud Service Role
To begin the migration to the cloud service, we need to add our WCF Data Services code to the role that was just created. Here’s a list of things we need to do:
1) Add reference to Entity Framework
In the first post in the series we used Entity Framework to access the DB data. At this stage, our cloud service role does not have any Entity Framework references so we need to bring these in. The easiest way to do so, is using Nuget from the package manager console as shown below.
2) Copy the Entity Framework files and other relevant files created in the first project
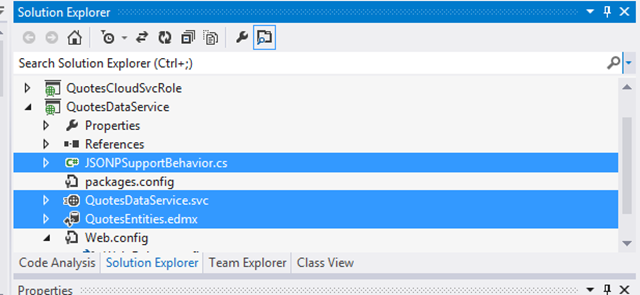
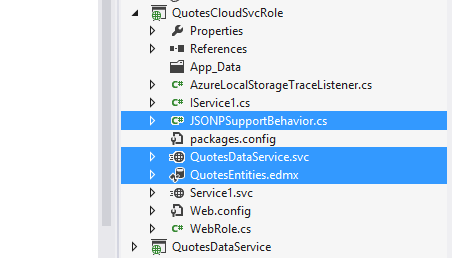
Now that the EF references are included in the project, we can just copy the relevant project files for EF & also the WCF related files into the Cloud Service role project as shown below.
3) Add references to WCF Data Services DLLs
After including the EF & the WCF service project files required, if we try to build the application, the following error is presented. The reason for this issue is that the WCF cloud role is not initially created as a WCF Data service and therefore is missing some assembly references.
We can bring in the WCF Data Service references by using the following commands in the package manager console. Both commands can be executed in the same way as done for including Entity Framework as shown in step 1.
PM> Install-Package Microsoft.Data.Services andPM> Install-Package Microsoft.Data.Services.Client.
Running the first command should include both references, but in case not, then you can add the missing DLLs using the second command. However, when I build the Quotes Service Role project after adding the references, it still fails and I get the error below.
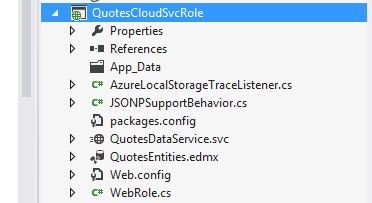
The reason for the error shown here is that this cloud role was created as a WCF role so it already had a reference to System.Data.Services.Client.dll which we do not need to use. To resolve this issue, we need to remove the redundant references, I will also remove the default svc files which got added when the role was created as shown below as this are not needed either.
As you can see, with the redundant files and references removed the project now builds successfully.
4) Copy the Cloud DB Connection String
The last outstanding thing to do now, is to copy across the Quotes DB connection string which was used in* Part 2 *of this series in order to allow our cloud service to connect to the cloud DB instance. I’ve done this by simply copying and pasting the connection string from the QuotesDataService project into the service role project as shown below.
After completing the above step the QuotesDataService project is no longer required and can also be removed from the solution.
5) Test the changes
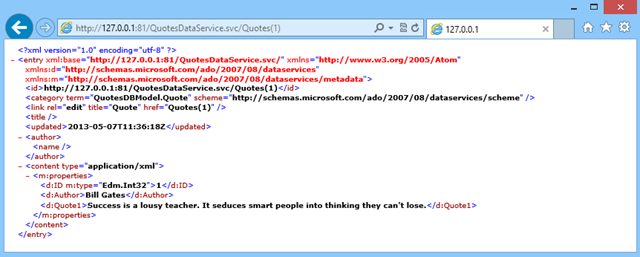
The previous steps complete all the changes we needed to make to the code to make it ready for the cloud. We can now do a test run to ensure it still works the same way as it did in the previous post when we migrated the database. Below is a test I did and as you can see the service is successfully running in the Windows Azure Emulator. Note that in order to run the emulator, your Visual Studio solution must be opened with elevated privileges and also in order to connect to the cloud database successfully your IP needs to be enabled in the firewall (refer to the previous post on how to do this if you have not read that previously)
Summary
Following on from the posts Exposing your data using .NET WCF Data Services: Part 1, and Exposing your data using .NET WCF Data Services- Part 2 this post explained how we can migrate our WCF Data Services created code into code that’s cloud ready in order to enable us to publish that code to Windows Azure so that it can be available and used externally. The post covered Downloading the latest Windows Azure SDK, Creating a Windows Azure cloud service and *migrating existing code to a cloud service. *In the next post we will cover the final step of publishing the cloud service created in this post to a publicly accessible Windows Azure service.
