In Part 2 of the Windows Azure Portal Series I covered the The Hosted Services, Storage Accounts & CDN tab of the new Windows Azure Portal.
This post will cover the next tab in the series.
Database
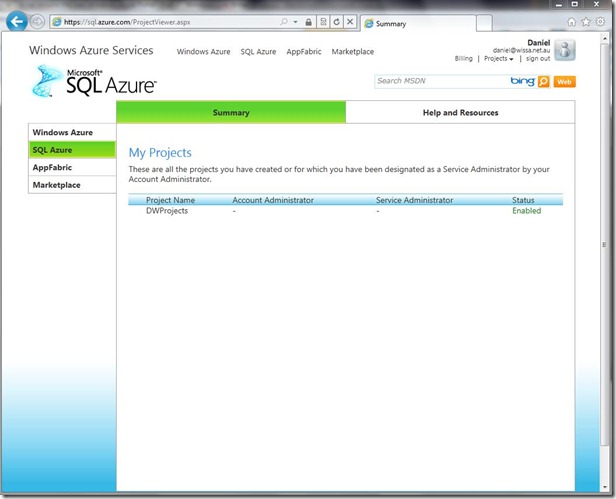
As the name suggests, this tab allows you to create and manage Windows Azure cloud databases. The following screenshots show the different components of the tab. To start with the first few screenshots show how you would have managed databases in the old portal followed by screenshots from the new portal to illustrate the differences. After all a picture is worth 1000 words so I thought this will be the best way to show you the differences.
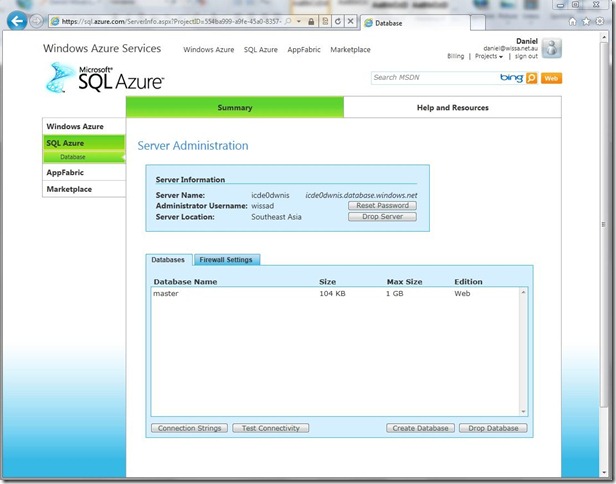
The Old Portal
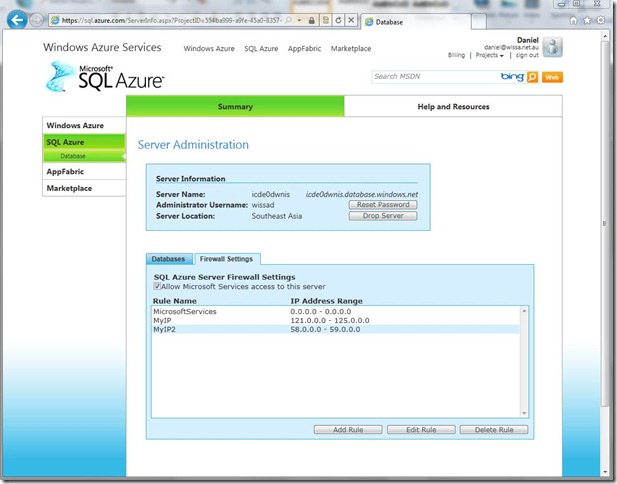
Viewing of existing databases and the second tab shown below for managing the Firewall Settings (the settings that allow you to specify which IP Addresses can connect to your Windows Azure DB.
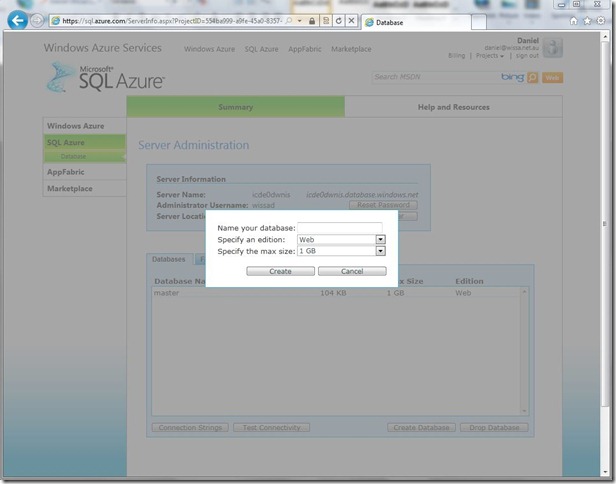
Screenshot for creating a new database in the old portal by specifying the database name and the edition/Size.
Defining the firewall settings as described earlier.
The New Portal
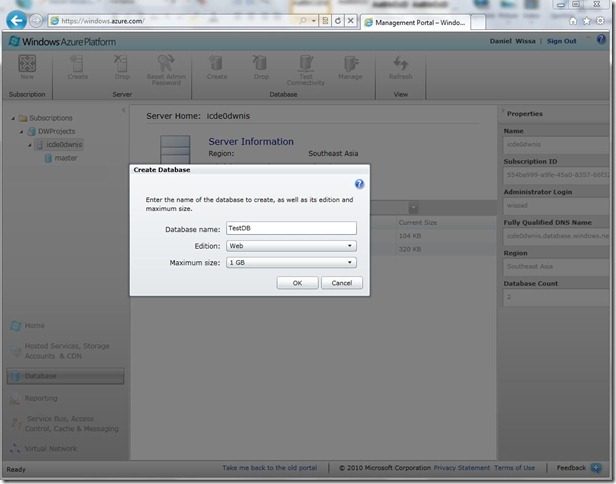
As you can see below, once again the portal maintains the consistent layout and management style for creating new items and modifying settings for existing items as illustrated in my previous posts.
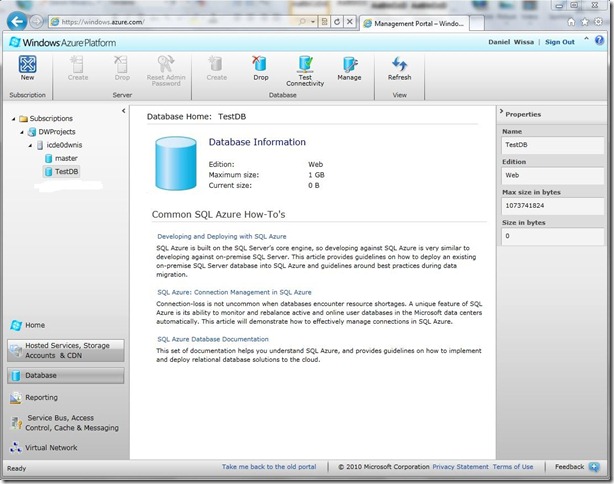
Once you create your database you’ll see it listed in the left hand section of the screen and the common action menus shown at the top of the screen as you can see blow.
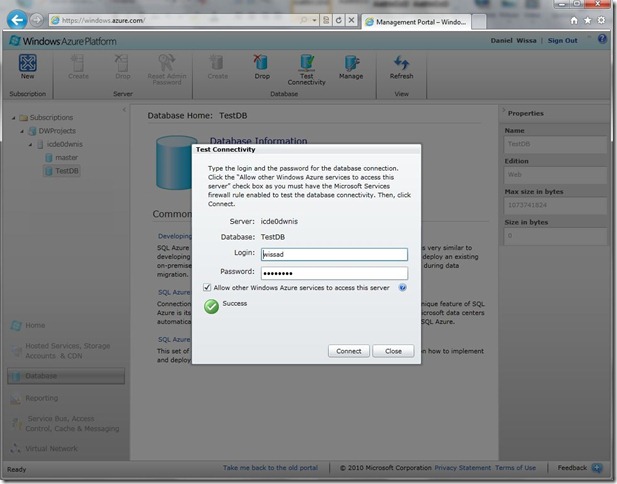
you can use the Test Connectivity menu for checking that your credentials (which you would have created when creating the Database server (using the create menu which is shown in disabled state in the screenshot above) to verify you are able to logon.
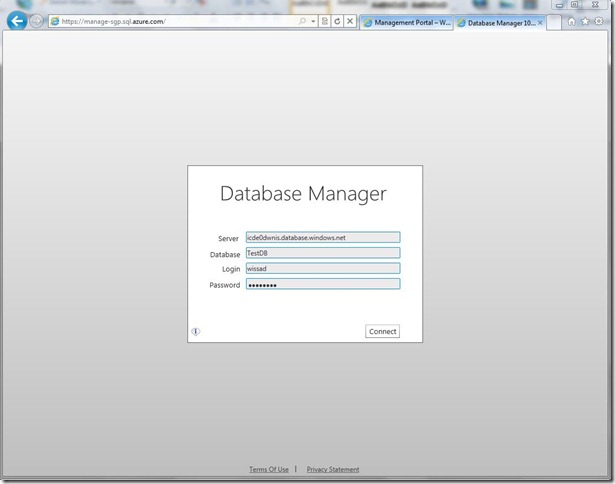
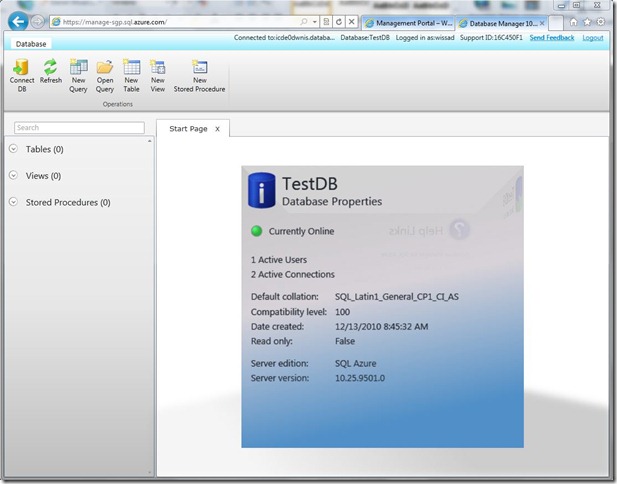
A new feature that has been developed with the new Windows Azure Portal is the web based database manager which is basically a mini version alternative to SQL Server’s Management Studio environment. This feature is accessible by clicking the Manage button which you can see in the screenshot above. Once this button has been clicked a new window/tab will open allowing you to logon into SQL Server in the cloud to manage it. (Note: using the same details below you can also logon to SQL Azure via SSMS I will blog about these in a separate post and will include migrating a DB to the cloud as part of that)
Once you’ve logged on using your details you’ll see the following screen which has a very familiar look as to that of SQL Server Management Studio.
I’ll leave it to you to try out the different menu functions shown above for using the SQL Azure DB manager!
Next up: The Reporting Tab
